
How to Maintain Vulcan Cladding - Cleaning, Recoating and keeping the colour you chose
Vulcan cladding maintenance comes down to a simple idea: keep the coating working so the colour you chose still reads as deliberate, while the timber underneath stays sound and sheds water. With the right care, coated timber can look good for far longer, but it is worth being honest from the start. UV, rain and exposure will slowly change the appearance, so the realistic aim is an even, well-kept finish rather than an original colour frozen in time.
This guide walks through what to inspect, how to clean without doing harm, how to recognise when recoating is genuinely due, and how to decide between holding the colour and letting the timber weather. Along the way it flags the spots that fade or stain first, and the point at which professional advice makes sense.
What Vulcan cladding maintenance is actually preserving
Maintenance is not just cosmetic, because four things are at stake: how well the coating performs, how consistent the colour stays, the condition of the timber surface, and the cladding's ability to shed moisture rather than hold it. Neglect one and the others tend to follow. Vulcan is a thermally modified timber, which changes how it behaves outdoors, but it still relies on the right surface care and coating upkeep to keep looking its best.
There are really two appearance strategies, and it helps to pick one early. You can maintain the coating system to hold the chosen colour as closely as practical, or you can accept gradual, natural greying as part of how the material ages. Neither is wrong; what causes problems is drifting between them by accident. Because exposure is never even across a building, uneven weathering produces an uneven look, so colour retention on your exterior cladding depends on managing the most exposed elevations rather than treating the whole house as if it ages at one rate.
Clean gently before dirt and mould become coating problems
The core routine is straightforward: inspect the cladding regularly and wash it at least once a year. Spring is a practical time, clearing winter grime before the stronger sun and drier weather arrive. Use warm water with a mild detergent, an approved timber cleaner, or whatever the coating system's maker recommends, applied with a soft-bristle brush or cloth. Then rinse thoroughly with a garden hose so detergent, loosened dirt and airborne pollutants are not left sitting in the grain, grooves or joints.
What you avoid matters as much as what you do. Steer clear of harsh chemicals and bleach-heavy cleaners, abrasive pads and aggressive scrubbing, because these can mark the surface, strip the coating or leave residues that stop a future recoat bonding properly. Be wary too of cleaning products with excessive chemicals, which can persist in the wood and the surrounding environment. Skip high-pressure water blasting, since it can damage the wood, and if you use any low-pressure rinsing, keep the nozzle well back and never drive water into joints, end grain or behind boards. Finally, let the cladding dry fully before you judge the colour or plan any recoating, since damp or freshly washed timber often looks darker and patchier than it really is.
Check the areas most likely to fade, stain or hold moisture
Not every elevation ages at the same pace, so inspect the exposed faces first. North- and west-facing walls, high-level walls, unshaded areas, and any face hit by coastal or wind-driven rain usually show fading and coating wear soonest, because they take the most UV and weather. These are the walls that tell you when the rest of the house is heading the same way. Then look closely at the vulnerable details. End grains, board ends, corners, mitres and junctions often carry a thinner coating film, hold water longer, or open up as boards move and expose unprotected timber. Check lower boards and splash zones as well, especially near paving, planters or garden beds where rebound rain and dirt build up, and inspect around fixings for staining, coating cracks, movement marks or signs that water is tracking into the surface. Shaded, damp or poorly ventilated areas deserve attention too, because mould, algae and dark dirt can make the colour look uneven even where the coating itself is still intact. Use what you find to prioritise, so the weathered elevation gets cleaned or recoated before a sheltered wall or soffit that is barely touched.
Recoat when the coating stops doing its job, not on a fixed date
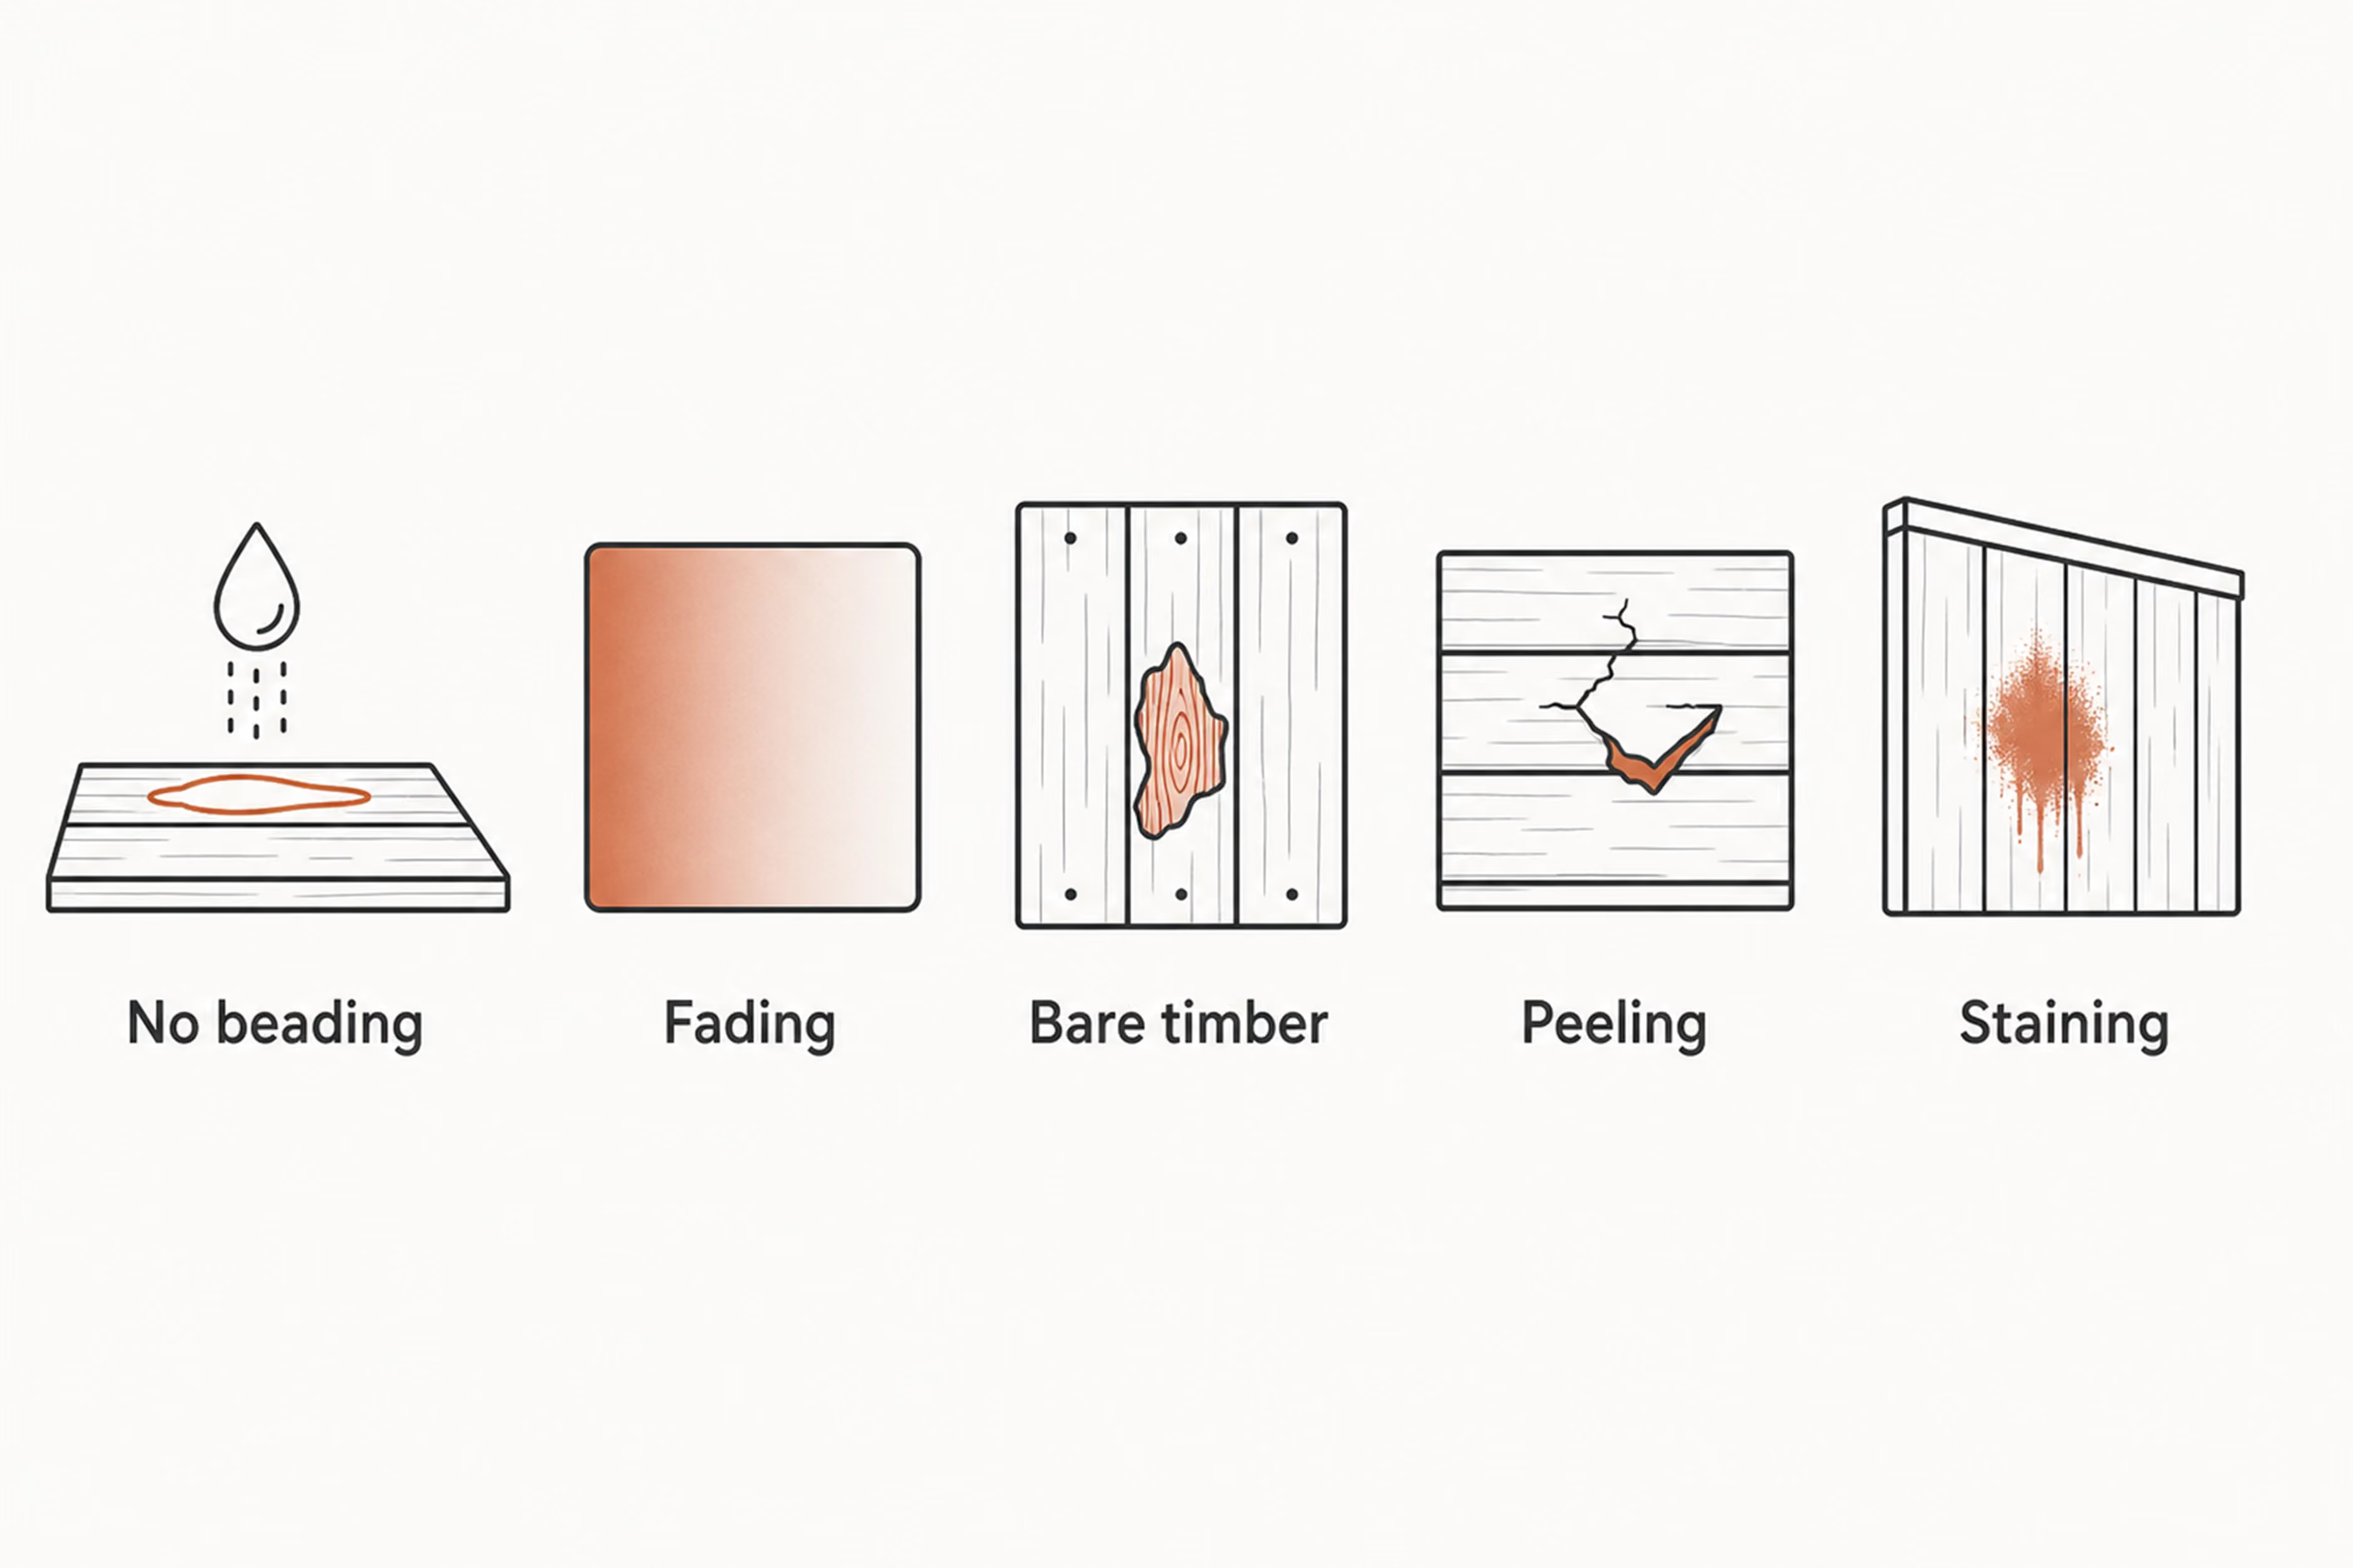
There is no single universal recoating interval, and any advice that gives you one is guessing. Real-world timing depends on the coating type, its colour and film build, the orientation and exposure of each wall, the design detailing, and the local climate, so watch the cladding rather than the calendar. The practical triggers to recoat are clear enough: water no longer beads on the surface, the coating looks dry or thinned out, the colour has noticeably faded, bare timber is starting to show, or the surface looks patchy once it has been cleaned and dried.
Some signs call for quicker action. Peeling, flaking or cracking, black staining, persistent damp marks, or significant greying where you meant to keep a coated colour all mean the coating is no longer protecting the timber. For the specifics, follow Abodo and the coating manufacturer's guidance for your particular system rather than generic cladding advice. It is also perfectly reasonable to recoat exposed elevations sooner than sheltered ones, since running different walls on different schedules often gives a more even result than forcing one date across the whole building. Whatever the timing, prepare properly first: clean the surface, let it dry, remove contaminants, prepare lightly only as the coating supplier advises, and never coat over dirt, mould or failing coating.
Your next move: hold the colour, let it weather, or call for advice
If holding the colour is the goal, recoat with compatible products and, where possible, the same colour system as the original, because switching product type or shade can create uneven absorption, sheen or tone that is hard to correct later. Always test a patch first, in a discreet area or on a spare board, especially if the original coating system is unknown or the cladding has weathered unevenly. Treat elevations by their exposure rather than forcing one plan on the whole house: an exposed wall may need recoating while a sheltered face only needs a wash. And keep expectations grounded, because UV will still shift the appearance over time even with good care. The aim is an intentional, even, well-kept finish, not a colour that never changes.
If you would rather let the timber weather naturally, make that a deliberate choice rather than a default. Carry on cleaning and inspecting for timber condition and moisture shedding, and simply accept the gradual greying and variation as part of the finish. Either way, bring in professional advice when you see coating breakdown, black staining, significant greying where you wanted the colour kept, suspected moisture getting in, soft or damaged timber, recurring mould, or when you are genuinely unsure what the original coating system was. A short conversation before you recoat is far cheaper than stripping back a whole elevation that was treated with the wrong product.