
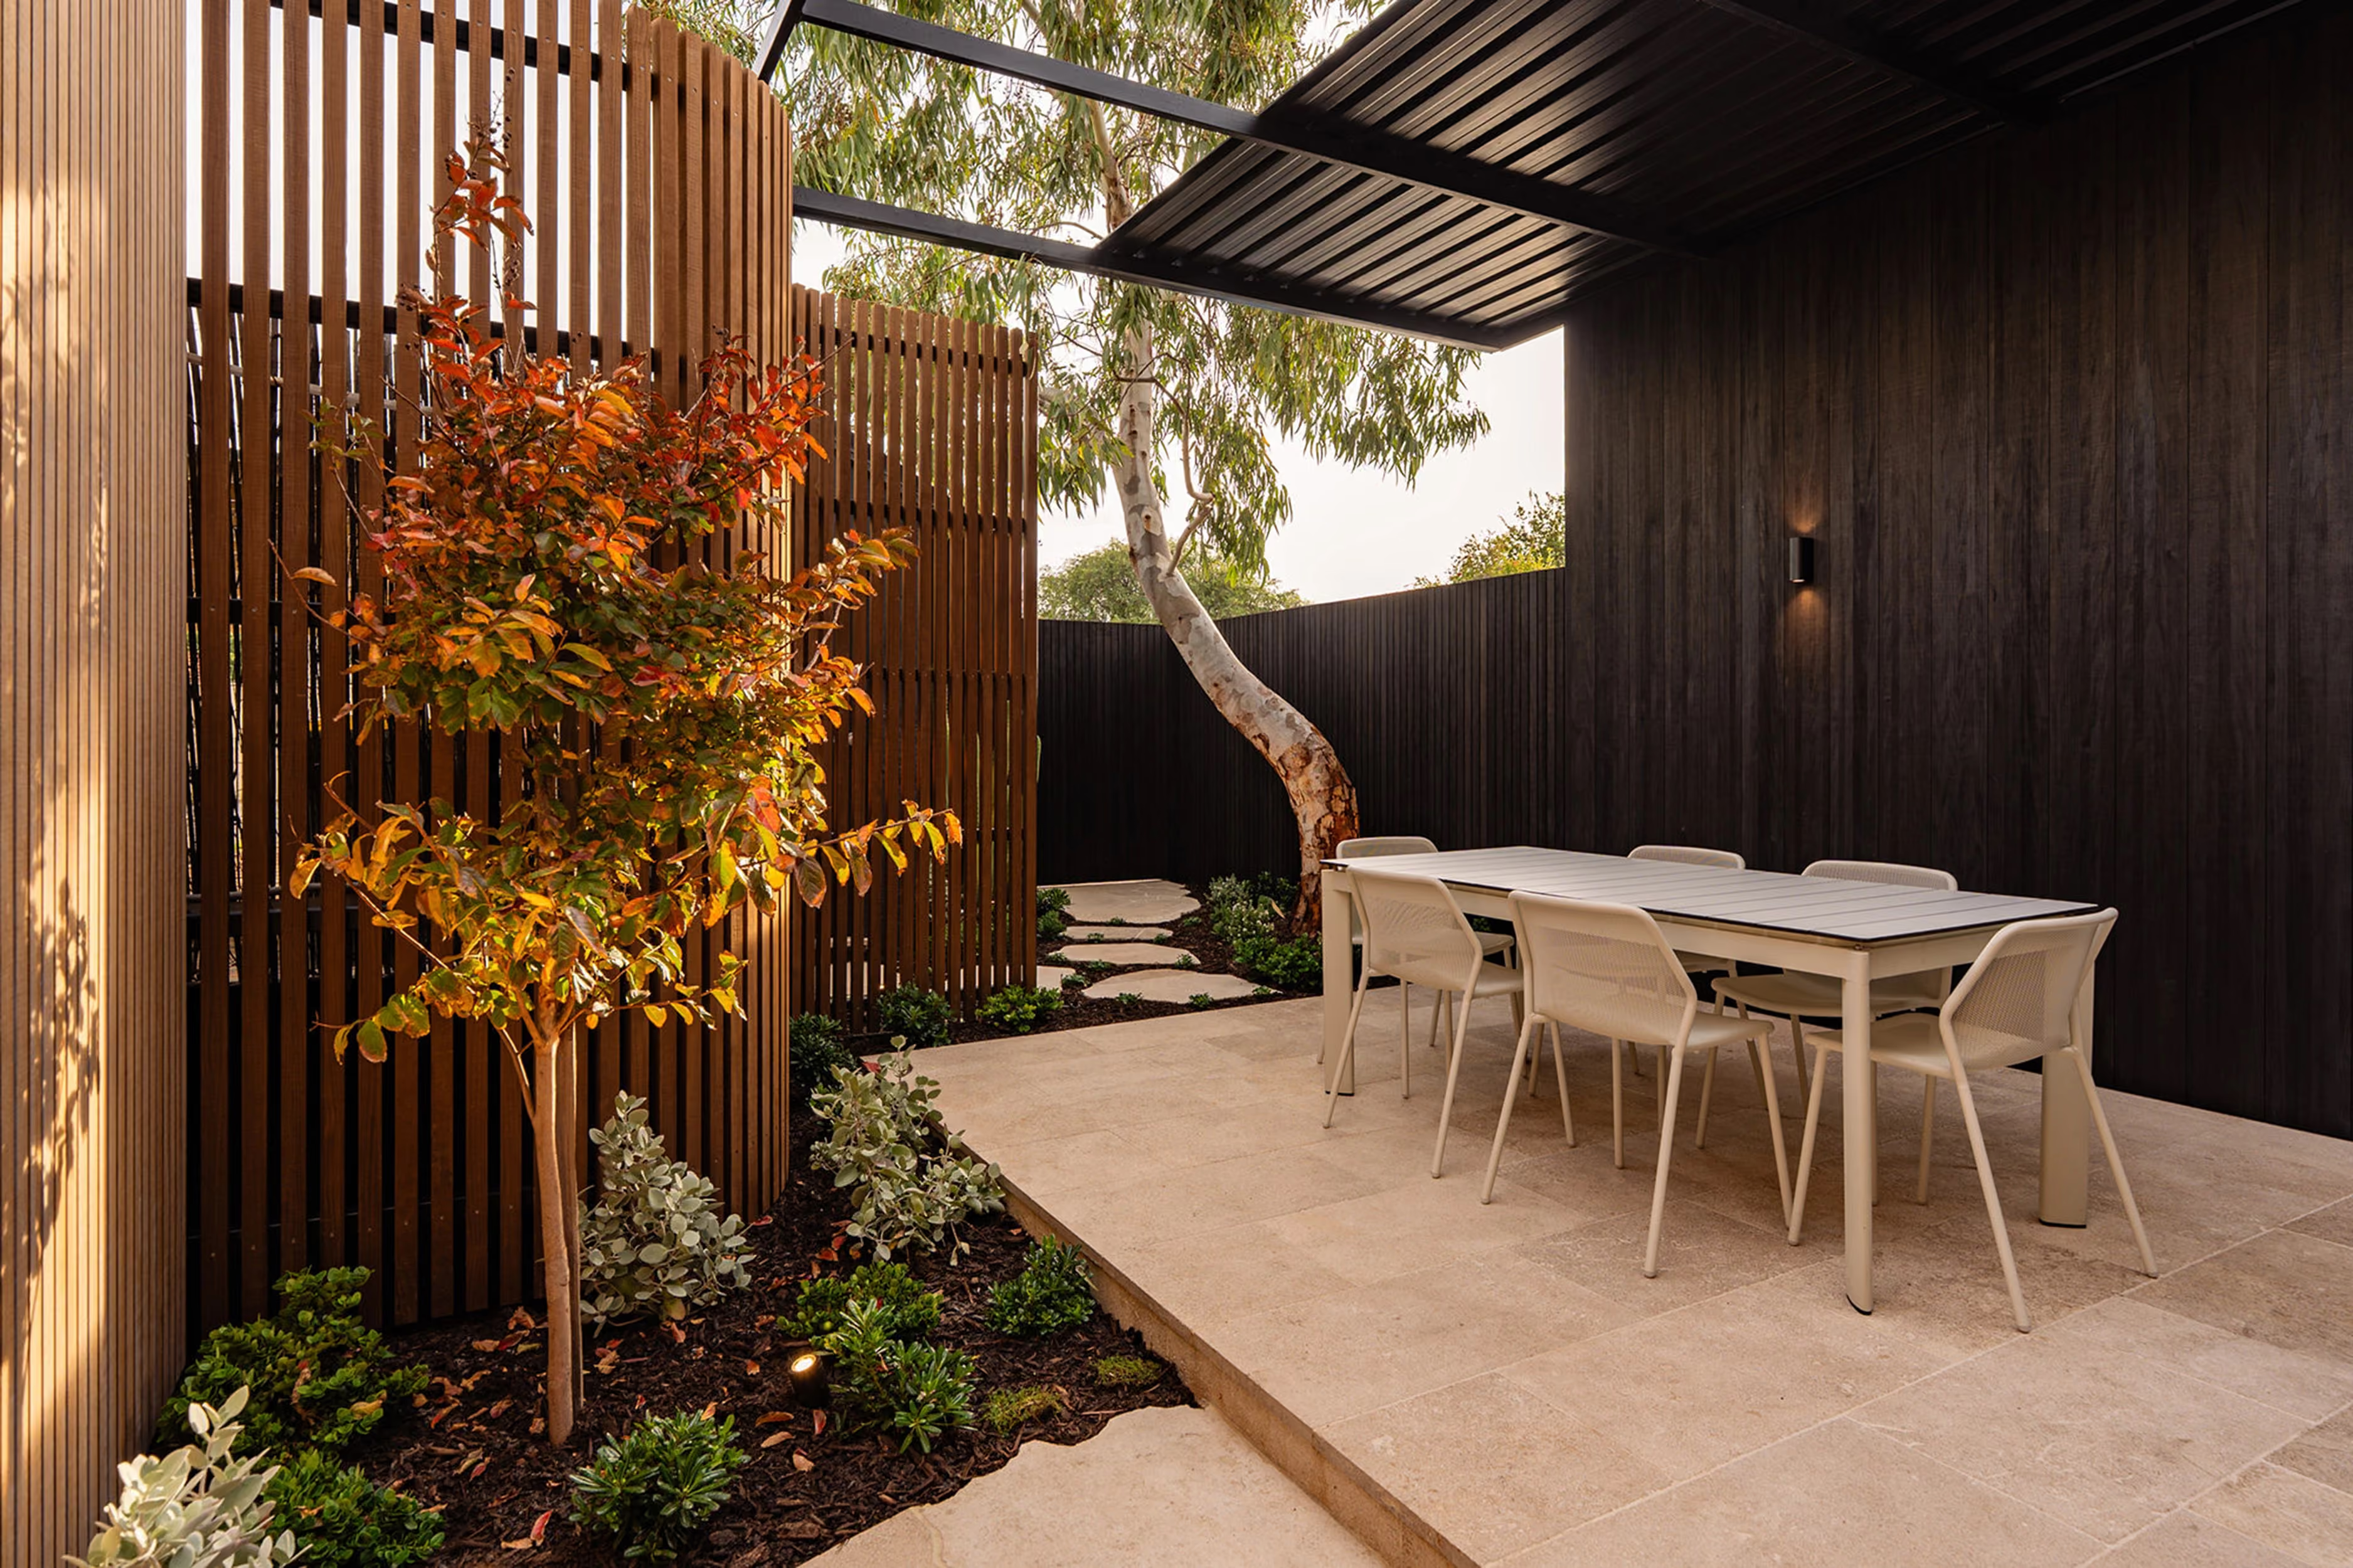
How to maintain and recoat Abodo Cladding to keep it looking its best
Abodo cladding maintenance is far less work than most owners expect, because it comes down to three things done at the right time: cleaning, inspecting and recoating, so the timber holds the colour and protective finish you chose. The manufacturer's own advice is refreshingly simple: wash it once a year, ideally in spring, and refinish when the coating asks for it.
What makes it feel uncertain is that no two elevations weather the same way. Exposure, aspect, colour depth and the coating system all change how often the timber needs attention, so a fixed calendar date rarely fits. This article gives you a usable rhythm for annual care, the warning signs that mean recoating is due, the right way to clean and prepare the boards, and a clear process for recoating without damaging the finish. It also flags the point where calling in a professional is the safer choice.
How often to check, clean and recoat
Start with a baseline you can actually keep to. Look over the cladding whenever you're doing normal property checks, wash it at least once a year, and give the coating a closer inspection after winter or before a high-UV summer. Spring is the natural time for the annual wash, because the boards have come through the wettest, dirtiest months and you can see clearly what shape the finish is in.
Recoating is where fixed-date thinking breaks down. There is no universal interval, since how quickly a finish thins depends on the original Abodo coating system, how deep the colour is, and how much UV and rain each elevation takes. A sheltered wall under a generous overhang can hold its finish for years, whereas a north or west-facing or coastal elevation catching driving rain and low sun will need attention sooner. As a working rule of thumb for exterior timber, reapplication windows tend to fall somewhere between two years for heavily exposed boards and around five years for well-shielded ones. Treat that as a prompt to inspect, not a deadline to coat.
One piece of admin makes everything downstream easier: keep the original coating records, product data sheets and the handover notes from your installer. Compatible recoating depends entirely on knowing what was applied first, so file those documents somewhere you can find them.
Signs your Abodo cladding is ready for recoating
The finish tells you when it is thinning, if you know what to read. Watch for fading, uneven or patchy colour, greying where you did not intend it, and boards that look dry rather than rich and even. A stain-finished elevation losing its depth is the clearest early cue.
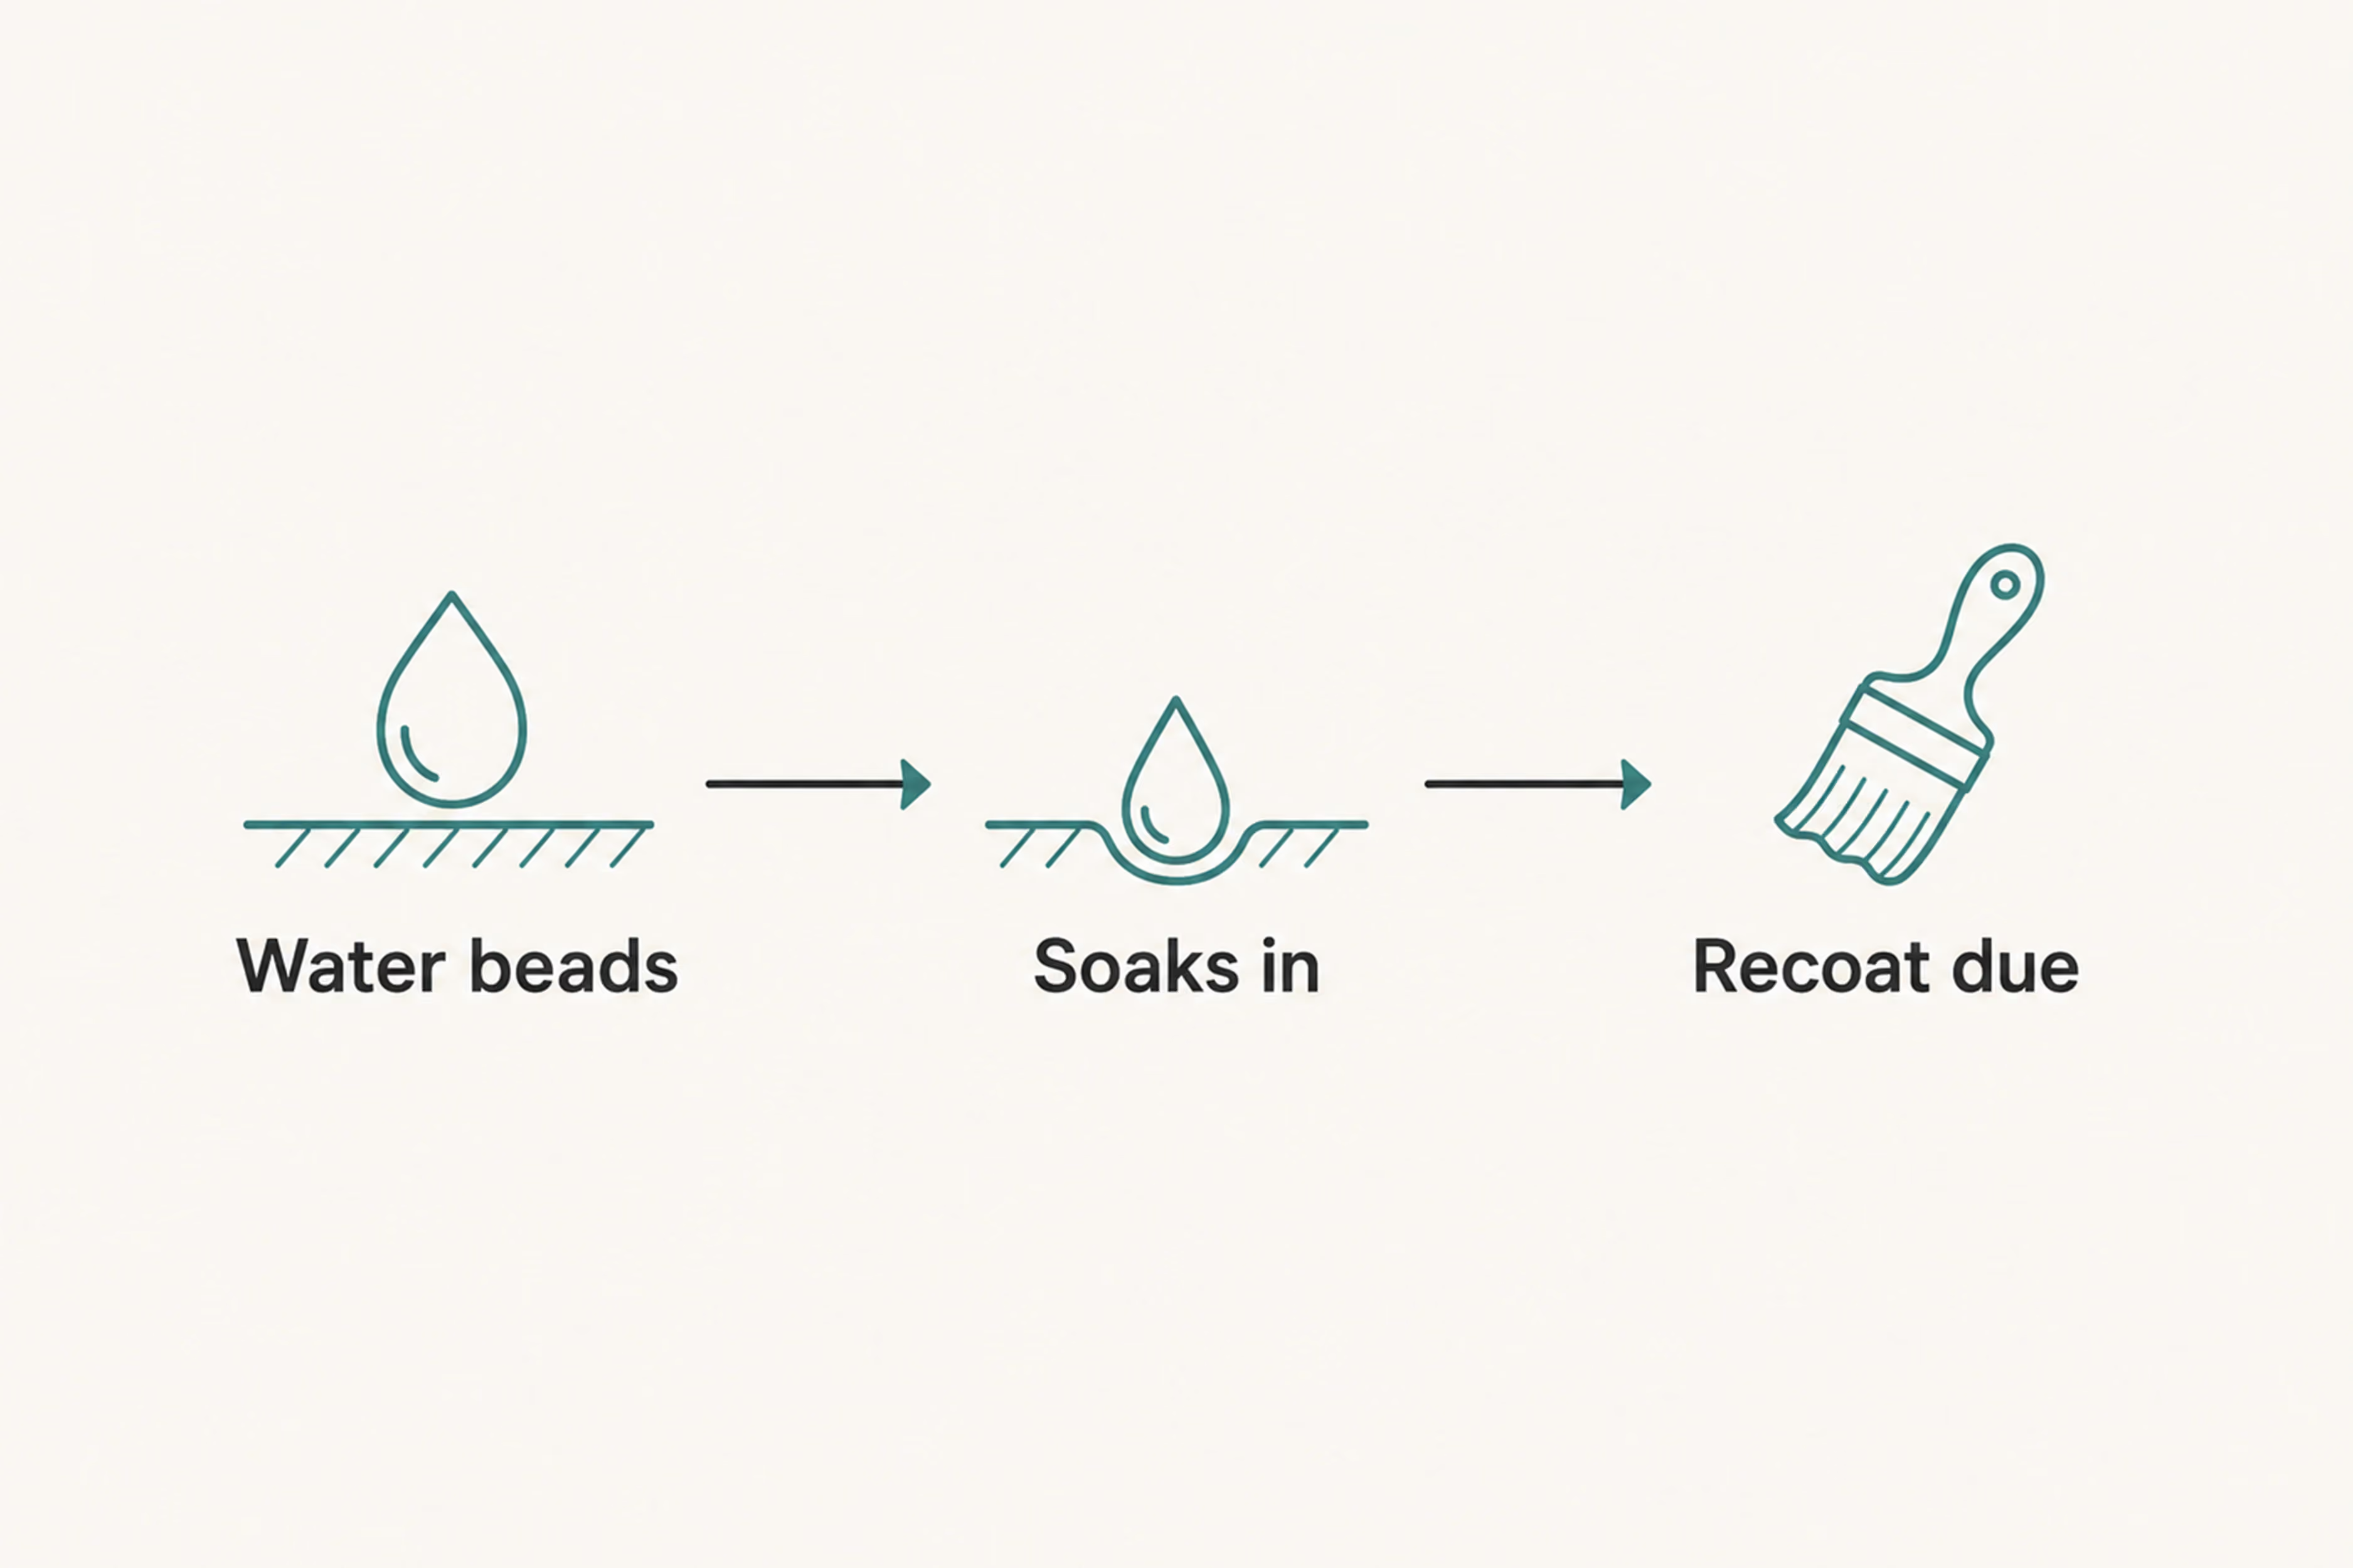
The quickest test is water. Splash a little on the boards or run a light hose over them: if the water beads and sits on the surface, the coating is still doing its job, but if it soaks straight in, the timber is losing its water repellency and a maintenance coat is due. Check the areas that usually fail first, such as exposed end grain, cut ends, corners, edges, fixings, the junctions around windows and doors, and the lower boards near splashback from paths or ground. High-exposure elevations will always run ahead of sheltered ones.
Biological growth is its own warning. Mould, algae, black staining, pollen and general grime should be cleaned off and the cause investigated before you even think about recoating. Finally, learn to tell normal weathering apart from genuine coating breakdown. A little mellowing over time is expected and harmless, but peeling, flaking, bare patches of timber, blotchy uneven absorption or a cracked coating film are not, and they need proper preparation before another coat goes on.
Cleaning and preparing without damaging the finish
Start gently. For the annual wash, use warm water with a mild detergent or an appropriate timber cleaner, worked in with a soft bristle brush or a sponge. That is genuinely all most cladding needs to shift a year's dirt and pollutants, and you can rinse it off with a garden hose or a low-pressure wash if you have one.
What you must not do is reach for a high-pressure water blaster. Aggressive pressure washing drives water into the timber, raises and damages the wood fibres and can strip or scar the existing coating, creating exactly the problem you were trying to prevent. If you are cleaning ahead of a recoat, take the time to remove everything that could stop the new coat bonding evenly: dirt, salt deposits, cobwebs, pollen, bird mess, grease, mildew, algae and any loose or flaking coating residue.
Use timber cleaners with care and follow the product instructions to the letter. Avoid harsh chemicals and strong bleach mixes where you can, since residues can persist in the wood and wash into the surrounding soil and planting. Above all, let the cladding dry fully before you sand or coat anything, because damp timber traps moisture behind the new film, and that is one of the most common reasons a fresh coat later fails.
Recoating with the correct Abodo-compatible system
Before you buy anything, confirm what you already have: the Abodo timber, the original coating colour and the specific coating product or system used at installation. This is where those handover records earn their keep. Do not mix an unknown oil, stain or film-forming coating over the top of another without checking they are compatible, because incompatible products are a fast route to peeling and patchiness.
Work through preparation before committing to a full recoat. Inspect the boards and prepare locally: lightly sand or abrade only where the coating guidance calls for it, remove any loose or failed coating, and feather the edges where a patch repair meets sound finish so the join does not show. Treat the problem areas first, since exposed end grain, cut ends, scratches, bare patches, mould-affected zones and areas that drink up product may all need extra preparation or a spot treatment before the main coat. Then protect what surrounds the timber: mask or cover glazing, render, masonry, metalwork, paving, plants and any drainage paths.
Conditions matter as much as technique. Apply the specified exterior timber coating to dry timber in mild weather, with no rain forecast, no strong direct sun heating the boards, and within the product's stated temperature range. Follow the coating manufacturer's instructions for whether to brush, roller or spray, the spread rate, the drying time between coats and the number of coats. More product is not better; overloading the surface stops it curing properly. Work one elevation at a time so the colour and sheen stay consistent, and while the coating is still wet, check back over lap marks, runs and drips, and make sure the end grain is properly covered.
Keeping it low-maintenance, and when to call a specialist
Most of the hard work in cladding care is really prevention. Keep vegetation, soil, mulch, stored items and general debris clear of the boards so they can drain and dry between downpours, because anything held against the timber traps moisture and shortens the life of the coating locally. Maintain the ventilation and drainage the wall relies on, especially the rainscreen cavity, the base of the walls and the junctions, and never block the gaps that let moisture escape. During each inspection, run your eye over fixings, flashings, corners, trims, sealant interfaces and end grains, since a small failure there quietly lets water in behind an otherwise healthy finish. Deal with a scratch, a chip, a bit of exposed end grain or a patch of algae as soon as you spot it, rather than waiting until a whole elevation needs restoring.
Just as important is knowing the point at which DIY is no longer the right answer. Get specialist advice if the coating history is unknown, the finish is peeling widely, staining is black or keeps returning, the timber is severely weathered, you suspect an installation defect, or safe access means working across large or multi-storey elevations.
A practical next step: gather your original product records, walk each elevation and note what you see, then give the cladding a gentle wash and let it dry fully. With clean, dry boards in front of you, the decision is usually clear, whether that is spot repairs, a compatible maintenance coat, or a professional assessment.